We have uploaded a video with more info – Check it out here – https://youtu.be/vL5GJrSqqGE
Hey everyone, a lot of you have read our blog post about communications on the road when you’re in really remote areas. Thank you for the support with that and I’d like to now write a bit more of an advanced guide to the remote internet on the road and answer some FAQs. So in the previous article we showed you what we use and how it sort of works and why it works the way it does and how you can sort of get it to work that way for you. In this article, I’m going to write about some of the more advanced details that I didn’t cover in the earlier post, as well as some tips and tricks that we’ve learnt in the last six or so months of using this setup on the road full time.
Original Article HERE
DISCOUNT CODE FOR KIT – Use code 649d36ue for 5% discount!
https://www.telcoantennas.com.au/remote-data-setup-for-caravans-campers-trailers-mi
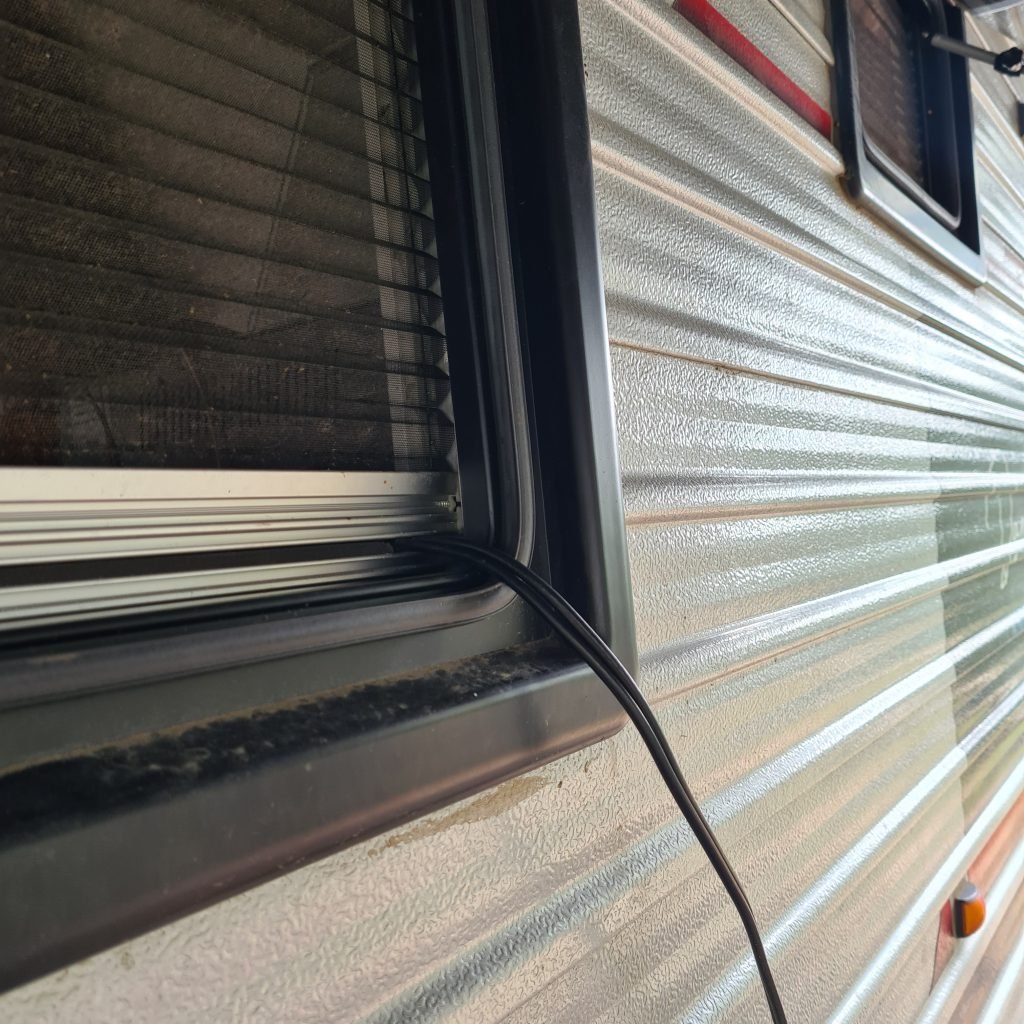
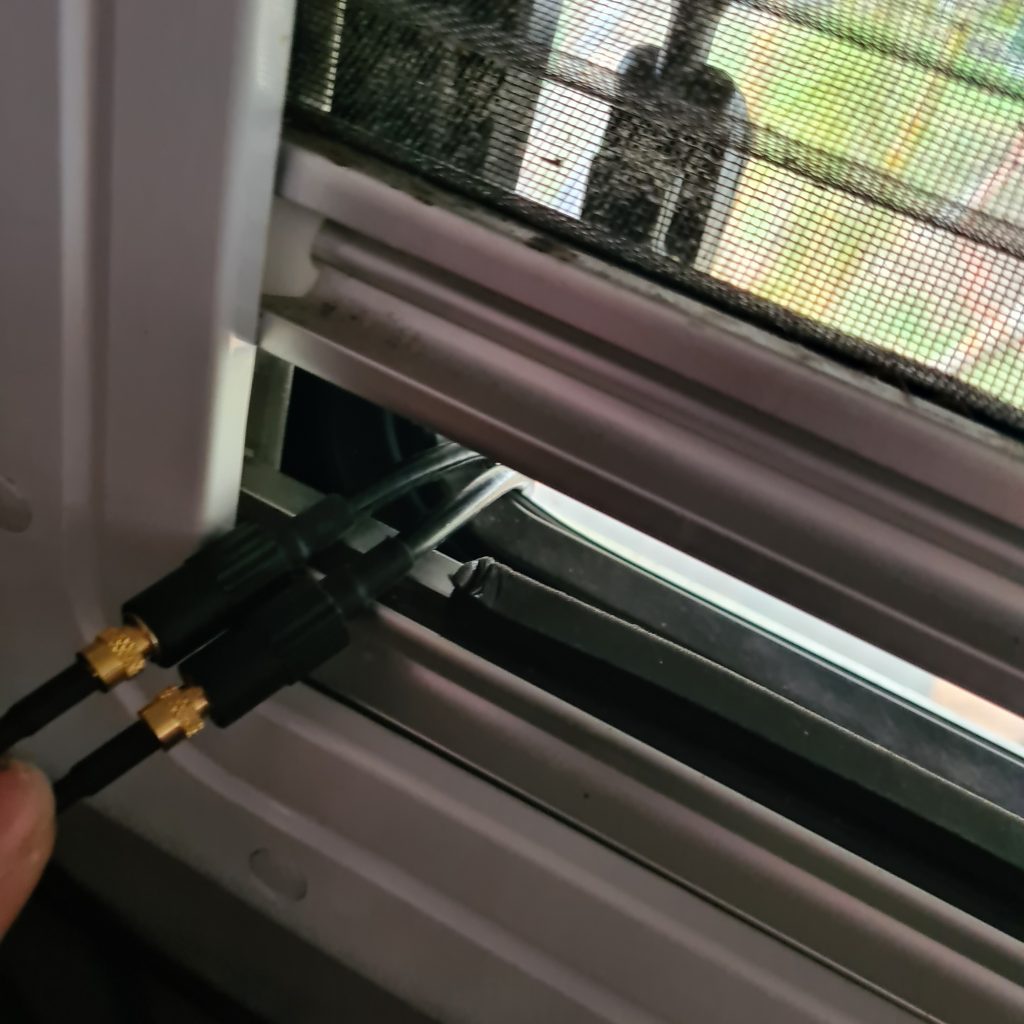
- A major question we get asked a lot is how are we getting the cable for the antenna into the caravan to connect up to the modem? And it’s a good question. We actually purchased some of the foam tape that you use to seal around the edges of doors. It’s got sticky stuff on one side and then the rest of it is black foam about a centimetre wide. We use this foam on one of our windows. Our windows are the type that have a magnetic seal between the fly screen and the blinds and the magnetic magnets stick together and seal it. We put the tape along that seal join and then cut out a little 1 cm wide gap usually in the corner and that’s what we stick the cables through. This means that you won’t get any bugs or anything into the caravan. The phone isn’t thick enough to stop the magnet sticking together, so we think that this is a great solution to get a cable into your caravan without any permanent damage or fixings.
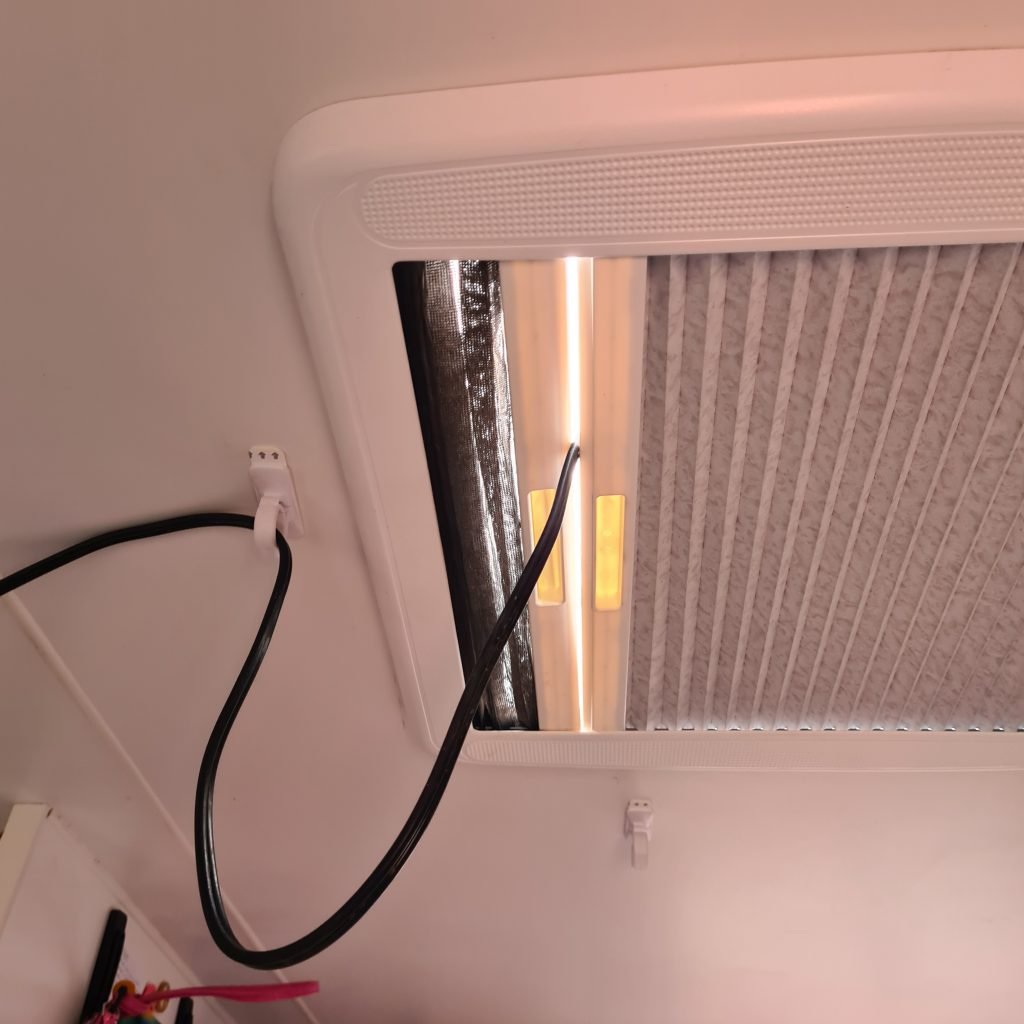
Some other ideas that people have told us they’ve been using is through the skylight vent poked through the edge of the fly screen and also through more permanent solutions like speaker holes etc.
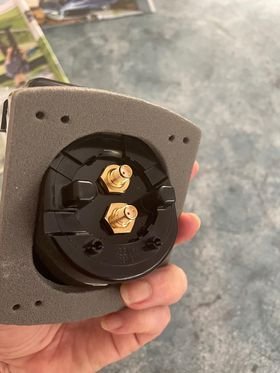
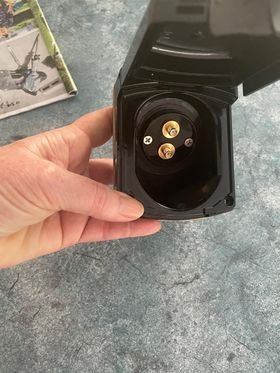
Check out this innovative solution from a clever cookie who purchased our kit… They have adapted a 240V Outdoor connector to become an SMA connector for the antenna! What a great idea….
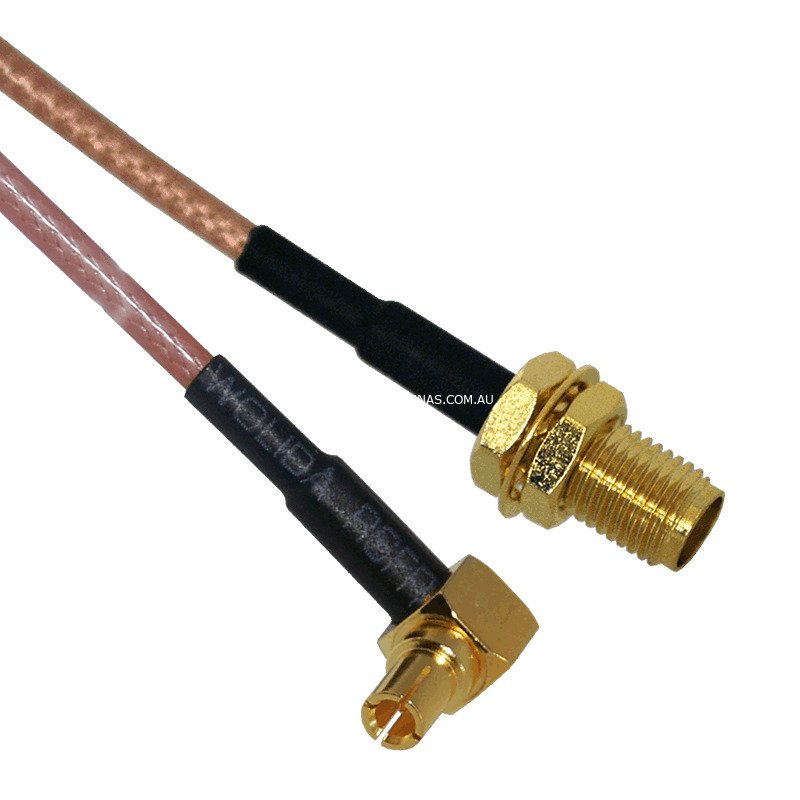
2. The next question we receive a lot is about the connectors that connect to the antenna cables to the modem. So the antenna cables end in an SMA connection which is a really good connection. It’s fine, but our modems, the nighthawks actually have a TS9 connector. These connectors are actually quite well hidden and they’re not the most durable things in the world. We have a pair of pigtail leads that adapt the TS9 connector to the SMA connector. These sit firmly on the TS9 connector on the modem. You can wiggle them around sideways and they’ll rotate freely over. They should stay on reasonably firmly. However, we don’t recommend hanging the modem off these cable connectors or anything like that. In our kit with put together there is a small TS9 to SMA adaptor. We haven’t actually tried specific connector because we purchased our products separately before we set up the kit for everyone.
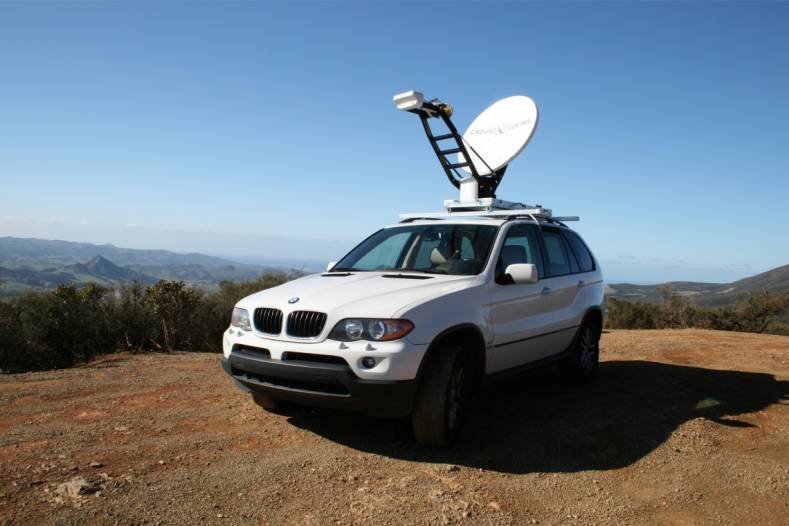
3. A third question that we get asked regularly is can I use this on the move? The Answer is both yes and no. The directional antenna is absolutely not suitable for using on the move. The only antenna that you would use on the move is an omni antenna. However, the modem itself you can definitely use on the move and we do it all the time and recommend it. The internal antennas on the modem are quite good and will get you reception in a lot of dubious areas. However, if you want more range than that while you’re driving, we recommend getting an omni antenna installed on your car and simply moving the nighthawk antenna from your caravan into your car. The battery in the nighthawk will last for a fair while or it can just be charged from any USB port. Hook up the omni antenna into your nighthawk and you’ll have just as good a connection as anyone with a celfi-Go repeater.
4. The fourth question that we get asked quite a lot and this is a really important one is, “can the nighthawk work on multiple carriers like Telstra and Optus for example?”
And the answer is definitely yes. However it does require some fiddling around. First of all, you’ll need a SIM for the different carrier. We personally have bought an AMAYSIM sim. This uses the Optus network. We have a 180 day charge on it with 150 GB to use in that 180 days. Since we don’t use this SIM very much. This works for us. Alternatively, you can just do pay as you go with a one month prepaid data plan when you actually want to use the Optus network.

The fiddling around that I mentioned is purely in the settings of the nighthawk and is to enable different bands that Optus uses that Telstra don’t that Telstra don’t preload onto the modem. I’ll have an advanced guide for this very soon here.
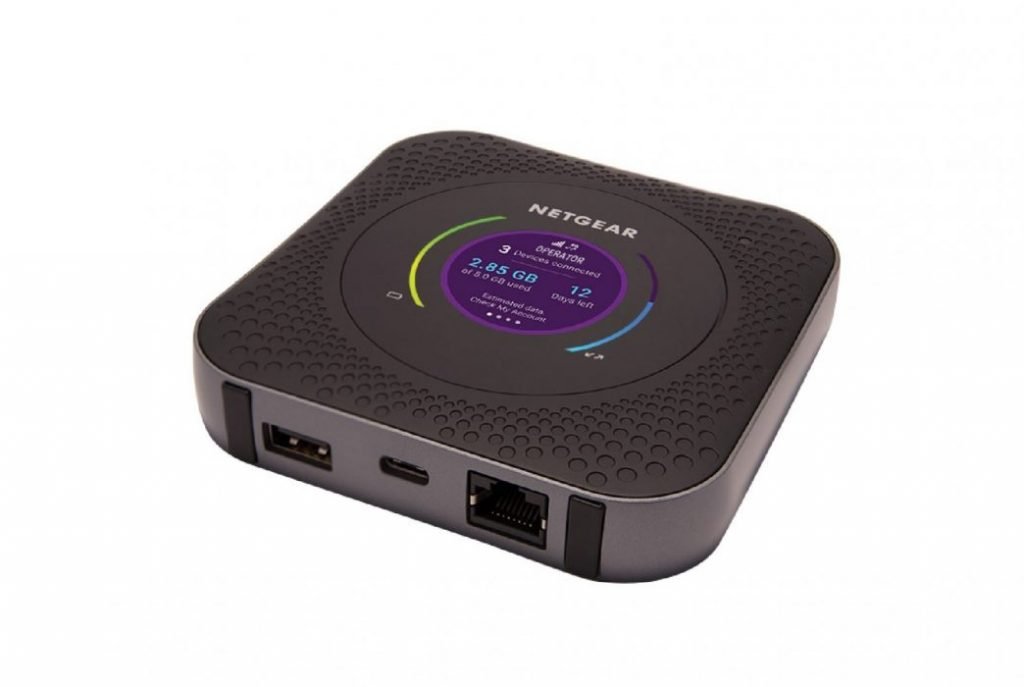
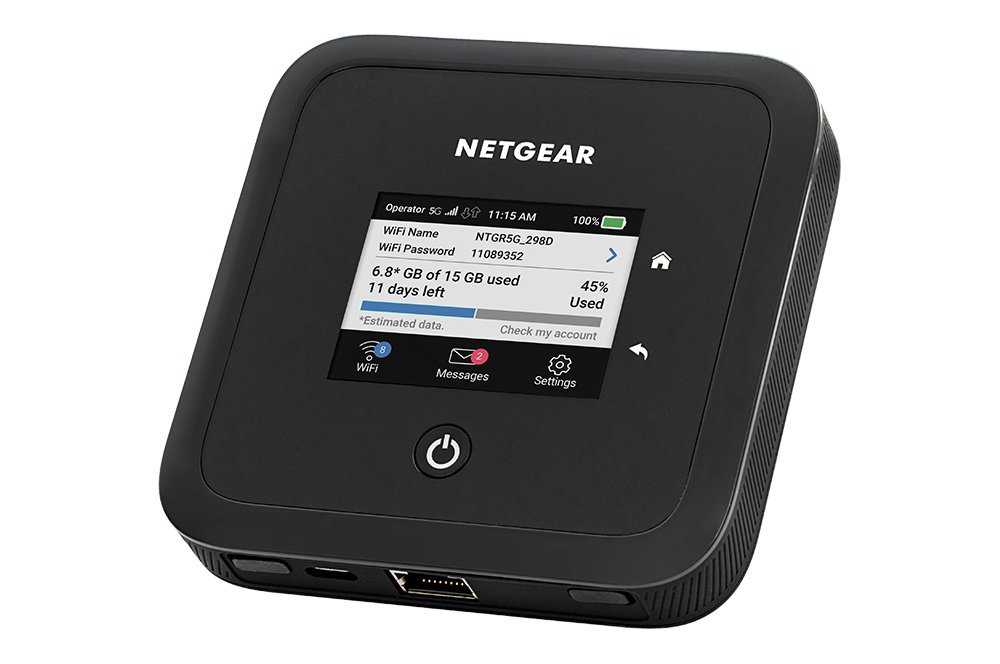
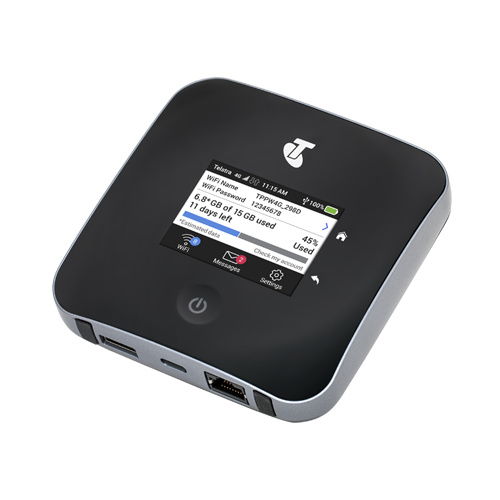
5. The last question that we get asked a lot is should I purchase the nighthawk M1, M2 or M5? Or perhaps a different mobile modem? There’s a lot of mixed messaging about this. We only have personal experience with our setup with the M5 and the M2 modems. We have the M5 personally and have had feedback from other people using our setup with the M2 modem that it all works well. However, the Wi-Fi range on this modem is not as good as the M5 being newer technology. Also, the M5 obviously has access to the 5G network when you’re in that sort of an area. If you’re on a tight budget, you can definitely get away with an M1 or M2 modem as the antenna is doing most of the work to get your signal really good. We don’t have any experience with other brands of modems with this setup, however, theoretically anything that has MIMO and the ability to take an external antenna and use it should work fine.
6. We regularly see posts and get asked how it compares to the Cel-Fi Go. Well in short – it’s better as you can direct the antenna to a tower and gain a connection even if you had nothing previously (within reason). Whereas the Cel-Fi needs something to boost from and connect choose where you connect too.
Another one is congestion, we have numerous times been in a town where there is more than one tower to connect to. The automatically connected tower is swamped and therefore really slow, so we have put up the mast and antenna, directed the antenna to another tower (usually further away) and we had a much faster and more reliable connection.
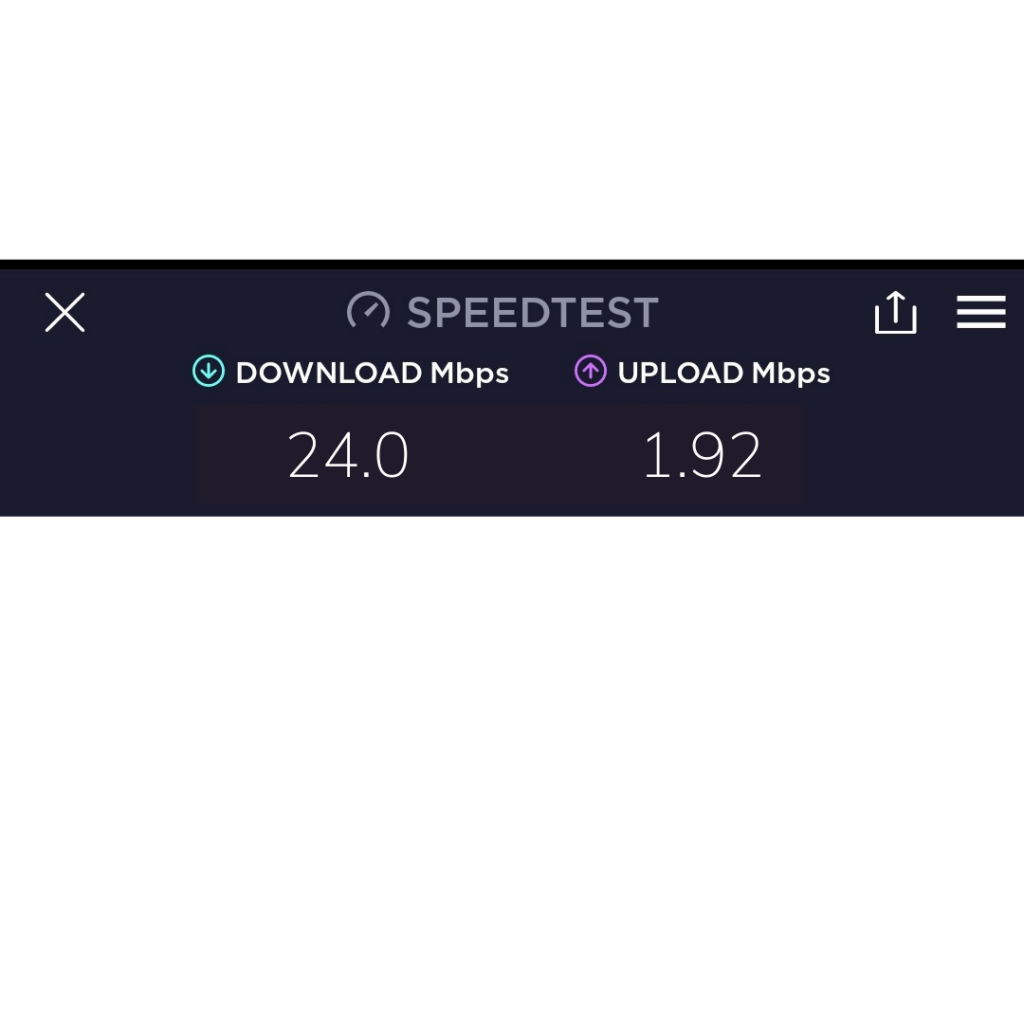
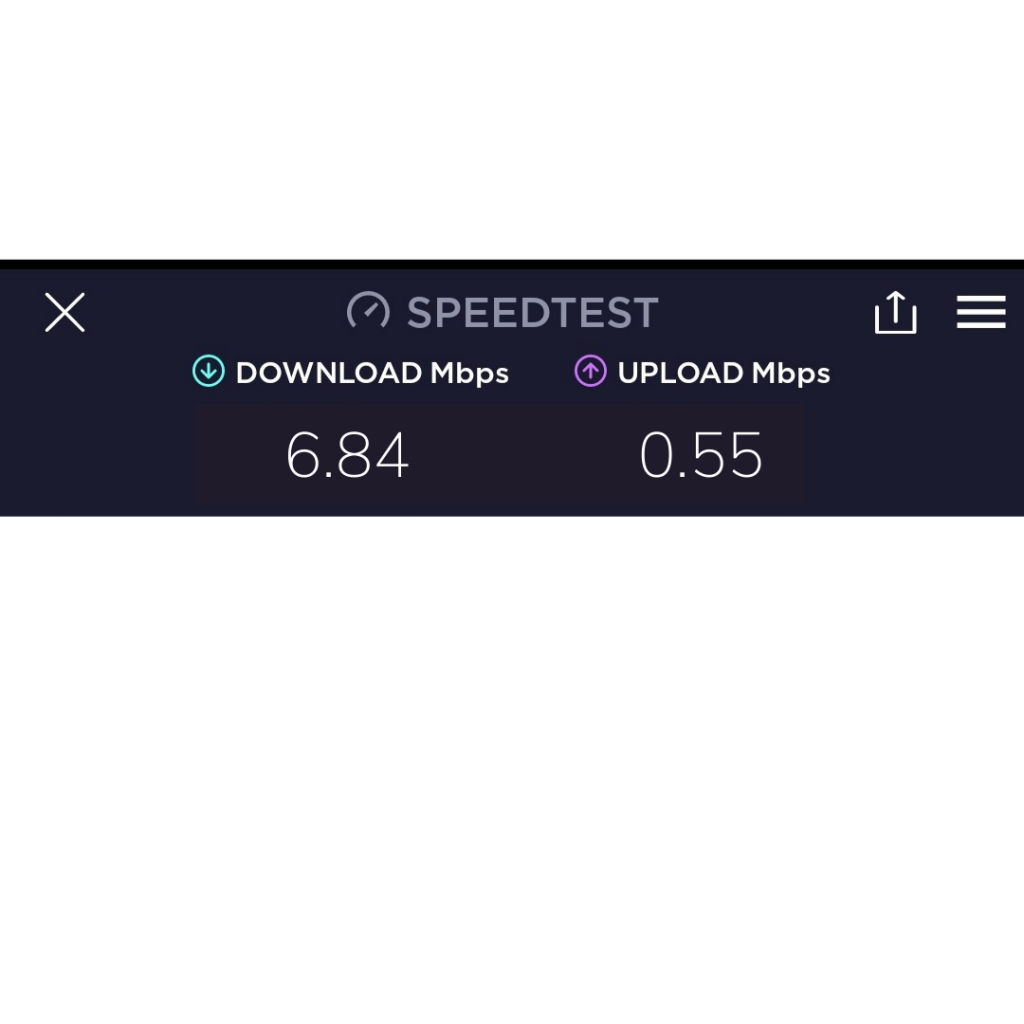
I have done some testing comparing our set-up to the Cel-Fi and I’ll put the details here:
Thanks a lot for reading this advanced guide if you have any questions, feel free to drop them in the comments below and we’ll try to answer them as soon as we see them.
To purchase our “Remote Traveling Australia Internet Set-Up” go to https://www.telcoantennas.com.au/remote-data-setup-for-caravans-campers-trailers-mi
USE CODE – 649d36ue for a 5% discount on the package!!
If you enjoyed this blog or found it useful, please feel free to click on any of the ads on the page, it doesn’t cost you anything, but it does help us see a little money to cover the hosting costs of the website.
Further, if you are looking to support us in other ways, you can buy a product from our Travel Tools Page, purchase a piece of Dan’s photography art or ‘buy us a coffee“.
We also offer one-on-one travel consultations, via video calls. If you wish for further information, clarification or personalised advice for something specific to your travel needs, feel free to book a session to chat with us.
Finally, don’t forget we have heaps of other helpful blogs for travelling Australia on our website, plus so much more!
Disclaimer: I may make a small commission if you buy from our links on our website, it just helps us cover the costs of the website to have this info available for you and costs you nothing more.
So does the kit have everything in it we need to connect our Netgear M5?
Hi Melanie, it does include everything, you will just need to select the ‘TS9 to SMA’ Connectors. If you have any other questions just ask!! 🙂
Hi
Great article thank thank you. I have purchased the m5 but am confused about aerials. We live in WA and will be travelling all around WA remote and not remote. Would you recommend a directional or Omni aerial or both. Thank you
Also we are travelling in a coaster bus. Thanks
Hi Vee, Thanks for reaching out!
We actually have a Youtube Video going up tonight 6:30EDST which explains, the whole set up and which antenna to use and why. We suggest a directional, but give it a watch and see if that helps explain it! https://youtu.be/KBbo-SN8MDQ
Hi,
Have tried the links to your YouTube video but YouTube says the video is not available?
Hi Dale, So sorry in the delay, I am not getting all the comment notifications so missed this one. That’s really odd, they seem to be working on my end. Did you end up finding the video?
Hi guys. I’m just wondering if it’s possible to purchase the nighthawk outright and then just insert my phones SIM card in it when I want to connect my laptop or tablet to it? Or will it not work like that?
Hi Tara, yes that will work for sure, you’d just be without a phone at the same time.
Hi there, I have purchased all that you have suggested with the remote set up kit, so thanks for the heads up, but am still a little unsure about the omni antenna. After checking them out online, there’s quite difference in price between them, and being a tech dummy I’m not sure which will be best for us. We will literally “be working on the road” and would like to be able to have the nighthawk in the car and be sending emails etc, whilst on the go in fairly remote locations (if possible). Also will this help to boost our phone signal as well? Can you suggest one that you think would be the best type for us to get please. Thanks so much for all of the info, it’s much appreciated.
Hi Gillian, I think most of your questions will be answered in our Youtube Vid going up tonight https://youtu.be/KBbo-SN8MDQ 6:30pm EDST. I think that will be the easiest way to answer them but if you have more questions after watching please ask!
Thanks so much, just watched the video and understand so much better!!
Great read, what is the best car wifi Ariel,
Thanks Chris
Hi Chris, an omni is your only real option for car wifi.
Hi,
This setup is exactly what I was looking for. I am a network engineer, but not very knowledgeable in radio and antennas so this was greatly beneficial. One question is would you publish the changes needed to use an Optus sim?
Hi yes, I’ll do a step by step in the next day or two.
Hi Ben, just letting you know the instructions for Optus are now up on our website 🙂
G’day have you put up the changes needed to use an Optus sim yet. I can not find them. thanks.
Hi, So sorry for the delay, they have just been put up now. 🙂
Hi, with the weight of the MIMO panel antenna, how does it go on the 5.7m mast when the wind starts to pick up? I have fitted the panel antenna on top of our TV antenna pole (replaced pole with one a little bigger), but in small winds I get really concerned as the internal winder (connected to the pole) moves around a lot.
Hi Mate,
It’s fine! We had it up at Bunda Cliffs on the Nullarbor, and had the antenna and mast up overnight. The wind felt like it was blowing the caravan over, but the mast and antenna were fine.
I recommend not fully extending the mast though, drop it down by 1 foot per segment so it has more stability, if you are in a high wind area.
Great thanks, Is your mast the light weight version or heavy duty (ie. is the final segment 25mm or 32mm). Also on the Aus Phone Towers app as displayed in you video, how do you get the distance to tower displayed also the MHz label on the radiation patterns, it doesn’t show on my app?
Hi Glenn, I believe mine is the heavyweight mast.
With the Aus Phone Towers app, are you running Iphone or Android? The extra detail may only be available on Android?
yes iPhone. The IOS version also doesn’t get an elevation height only tower height. Oh well.
Great thanks, Is your mast the light weight version or heavy duty (ie. is the final segment 25mm or 32mm). Also on the Aus Phone Towers app as displayed in you video, how do you get the distance to tower displayed also the MHz label on the radiation patterns, it doesn’t show on my app?
Hi !
Can you please tell me the best app to locate phone towers using this method . Just received my kit and don’t know what app to download ?
Hi Lauren, you need the ‘Aus Phone Towers’ App . I think there is a link in the main article about our internet kit to make it easier to locate 🙂
Hi Dan,
Just purchsed your kit from Telco.
Question on the M1 Nighthawk:
Do you need quad antenna’s from the M1? Or are the 2 external “ports” all you need to connect the RFI 10M cable (using the TS9-SMAF supplied with kit) to the nighthawk?
Please see this “hack” for “exposing” Antenna’s 3 and 4: http://www.youtube.com/watch?v=oMa0cd87r6Y
Many thanks,
Richard
Hi mate,
Just use the two external ports 🙂
Great! thanks Dan. Much appreciated…Cheers
Hi Dan, we are hitting the road april next year and very confused on if we should wait and see if starlink has better cover / performance when there are obstructions (trees) or run with this system. Do you have some advice on which way to go? Thanks Jared
Hi Jared, so sorry in the delayed reply, I don’t seem to get all the notifications of comments on the website for some reason. At the moment it is still worth Starlink if you have the budget and power supply for it, coverage is always improving in terms of location, trees not so much. We have been choosing campsites where possible without trees, but still hasn’t been possible all the time. I just put up an updated article on our website today. Hope this helps!
Hi Dan……if you were to just use only one of the two antenna ports……..would this be sufficient for remote internet?
Hi Mate,
It will get you internet, but not as good/fast as if you use MIMO (Both ports).
One is better than none though!